


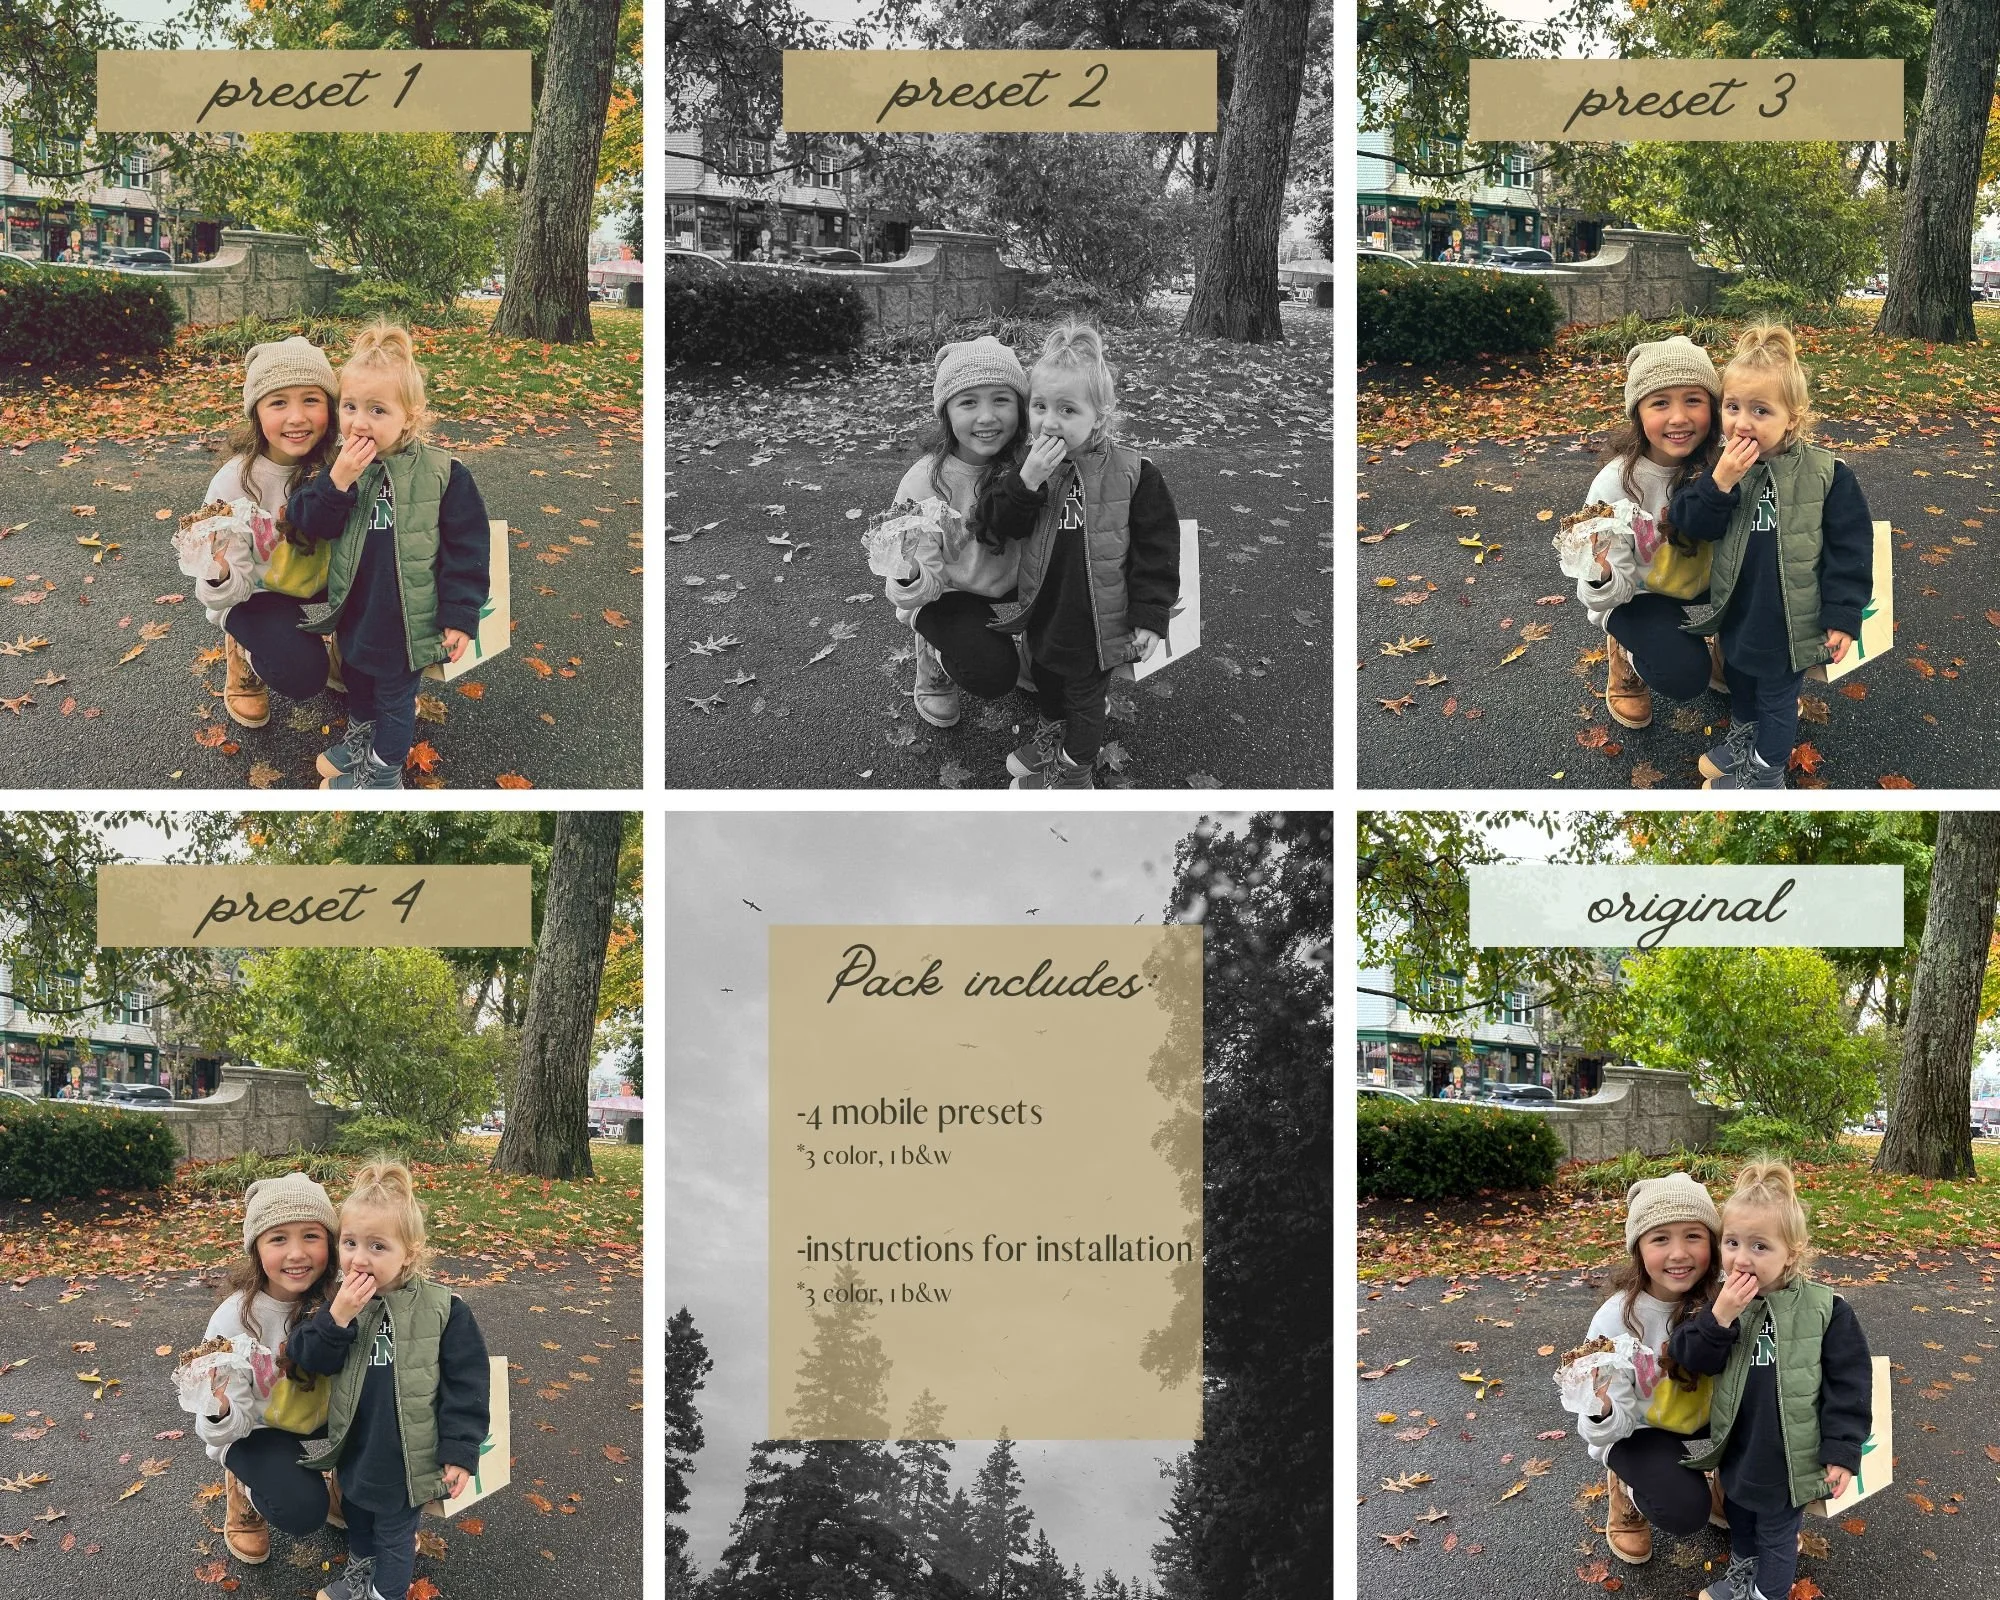

TKP Daydream 01.
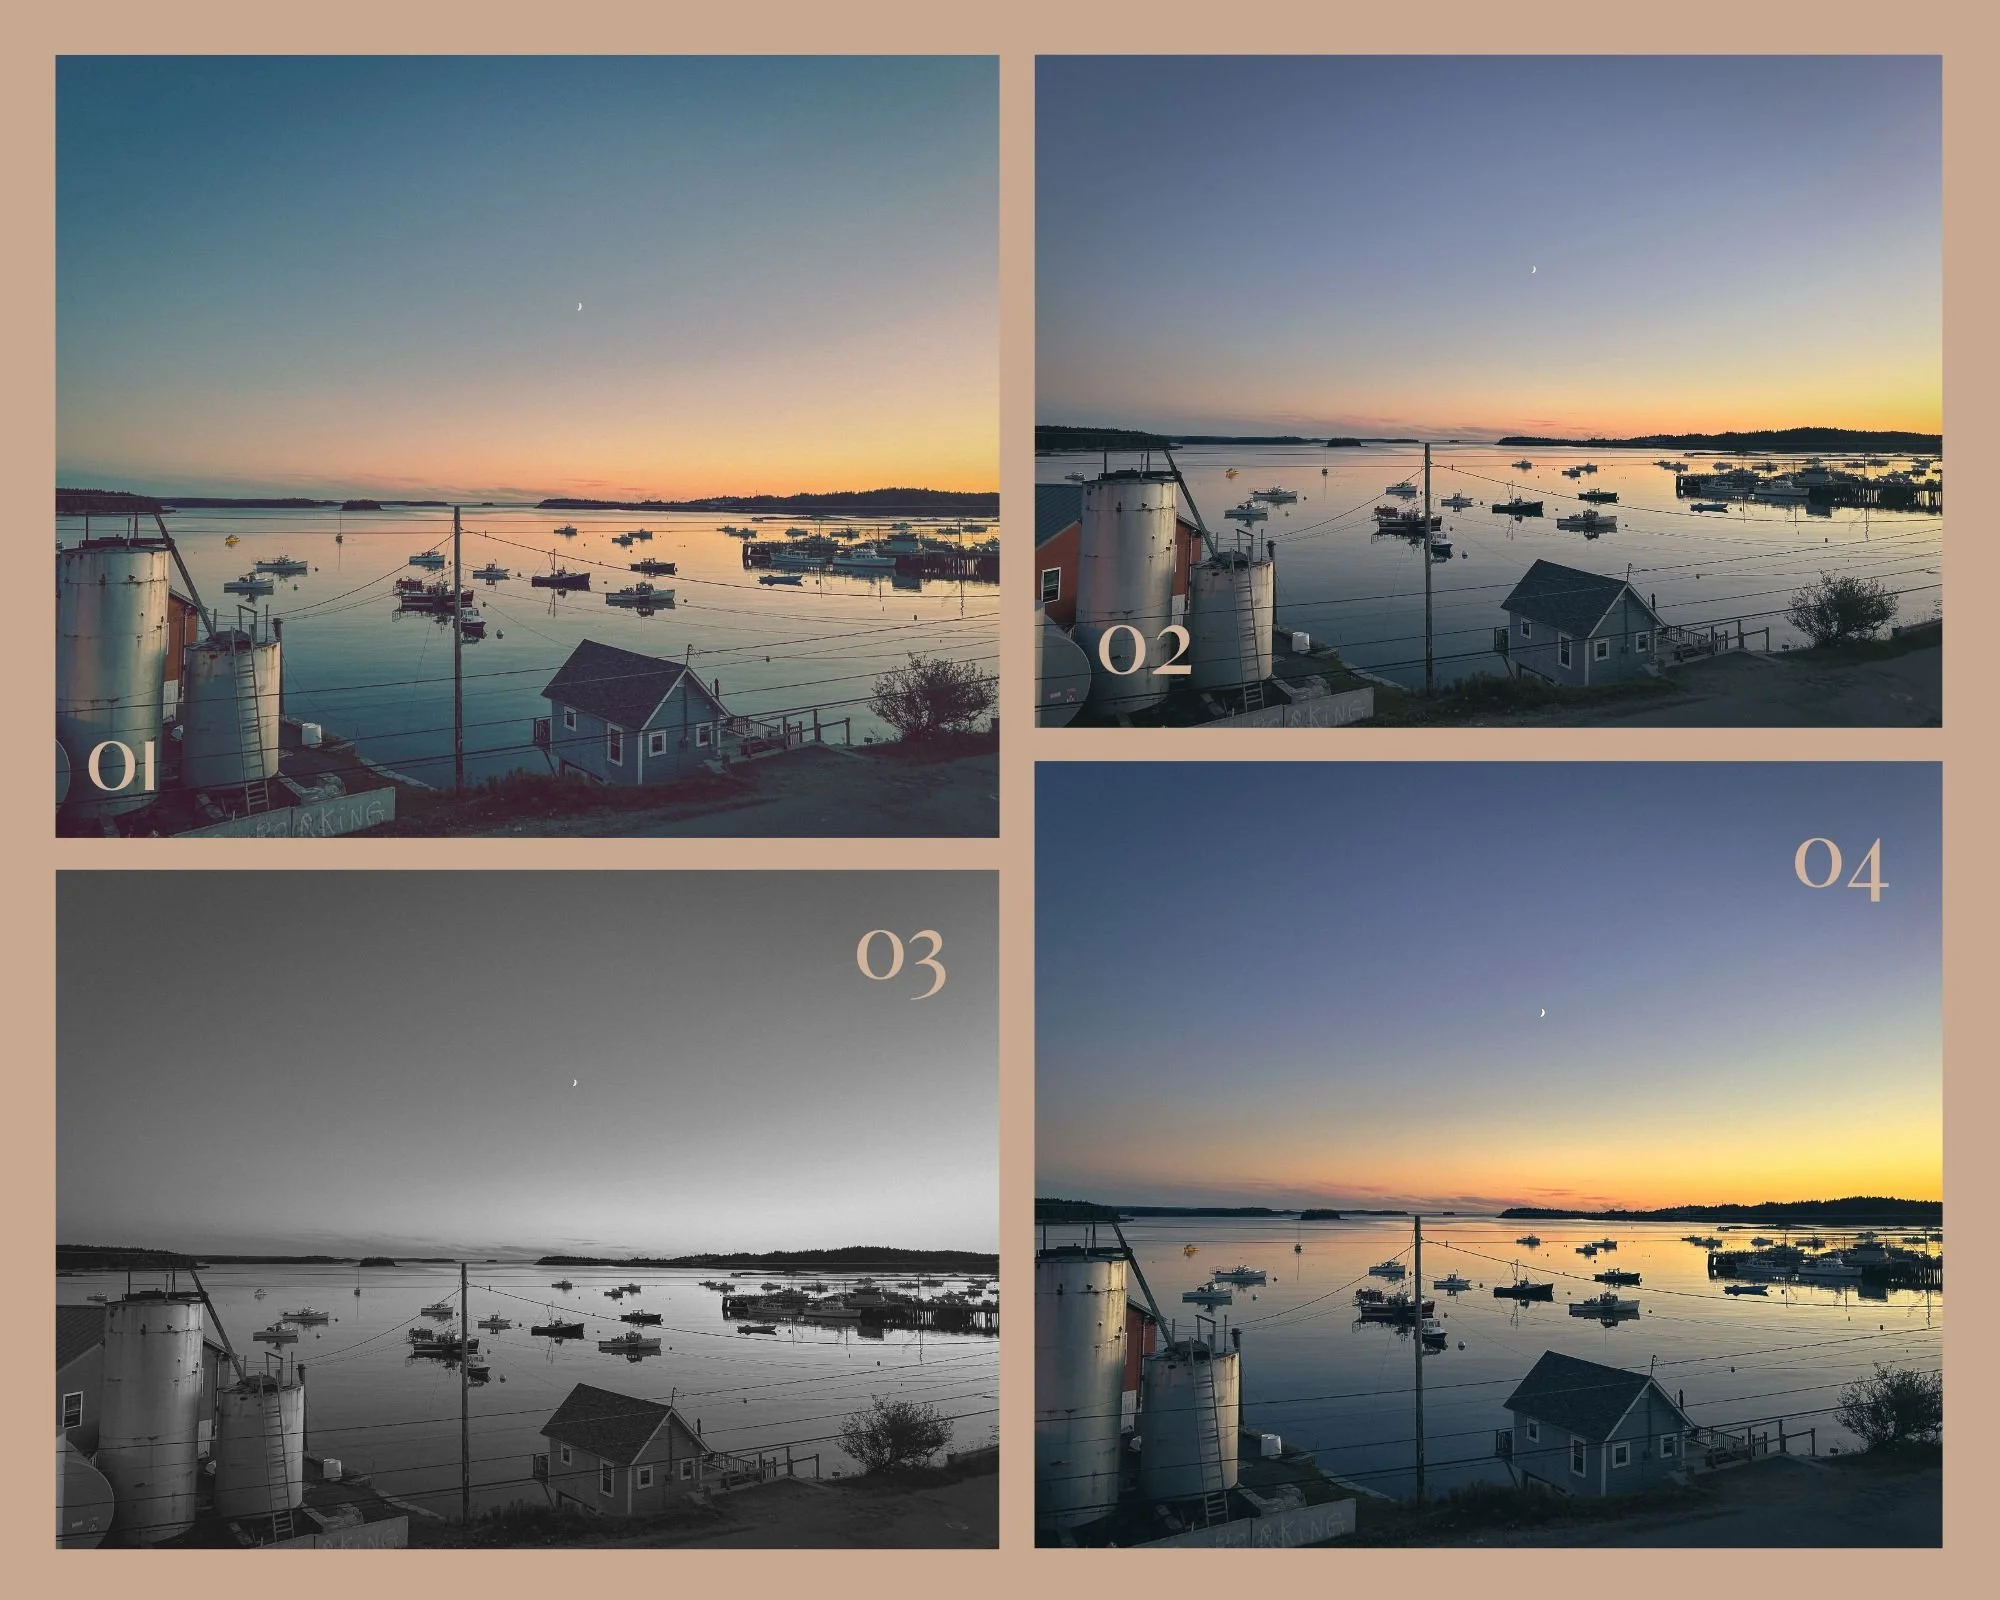
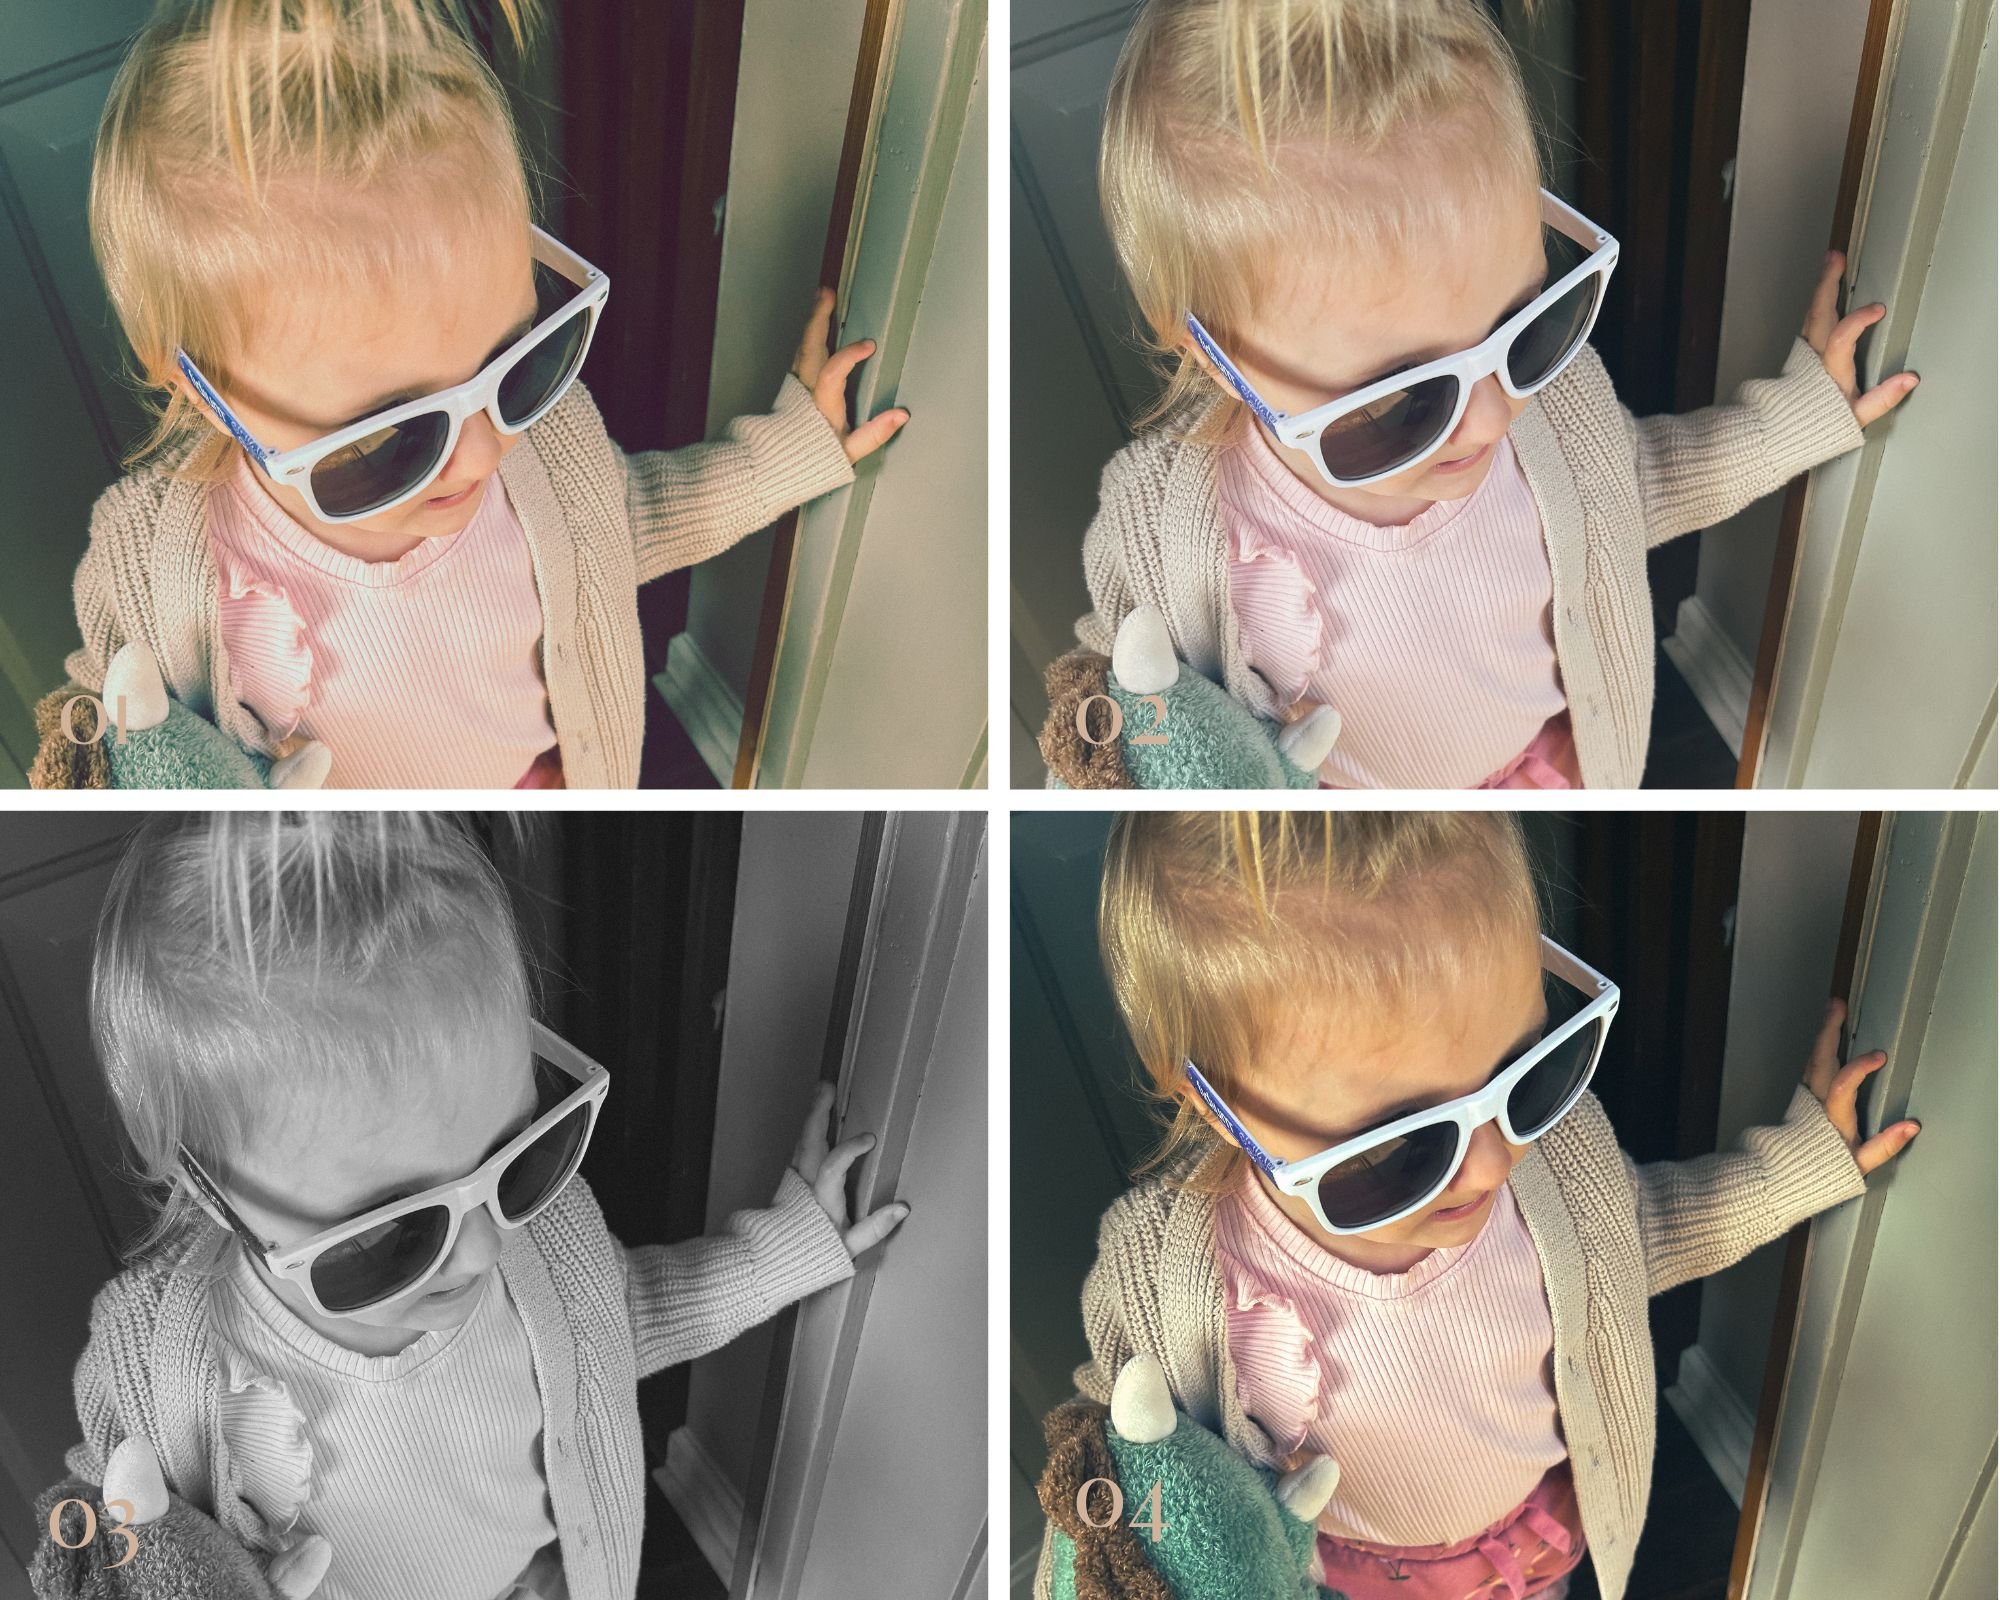
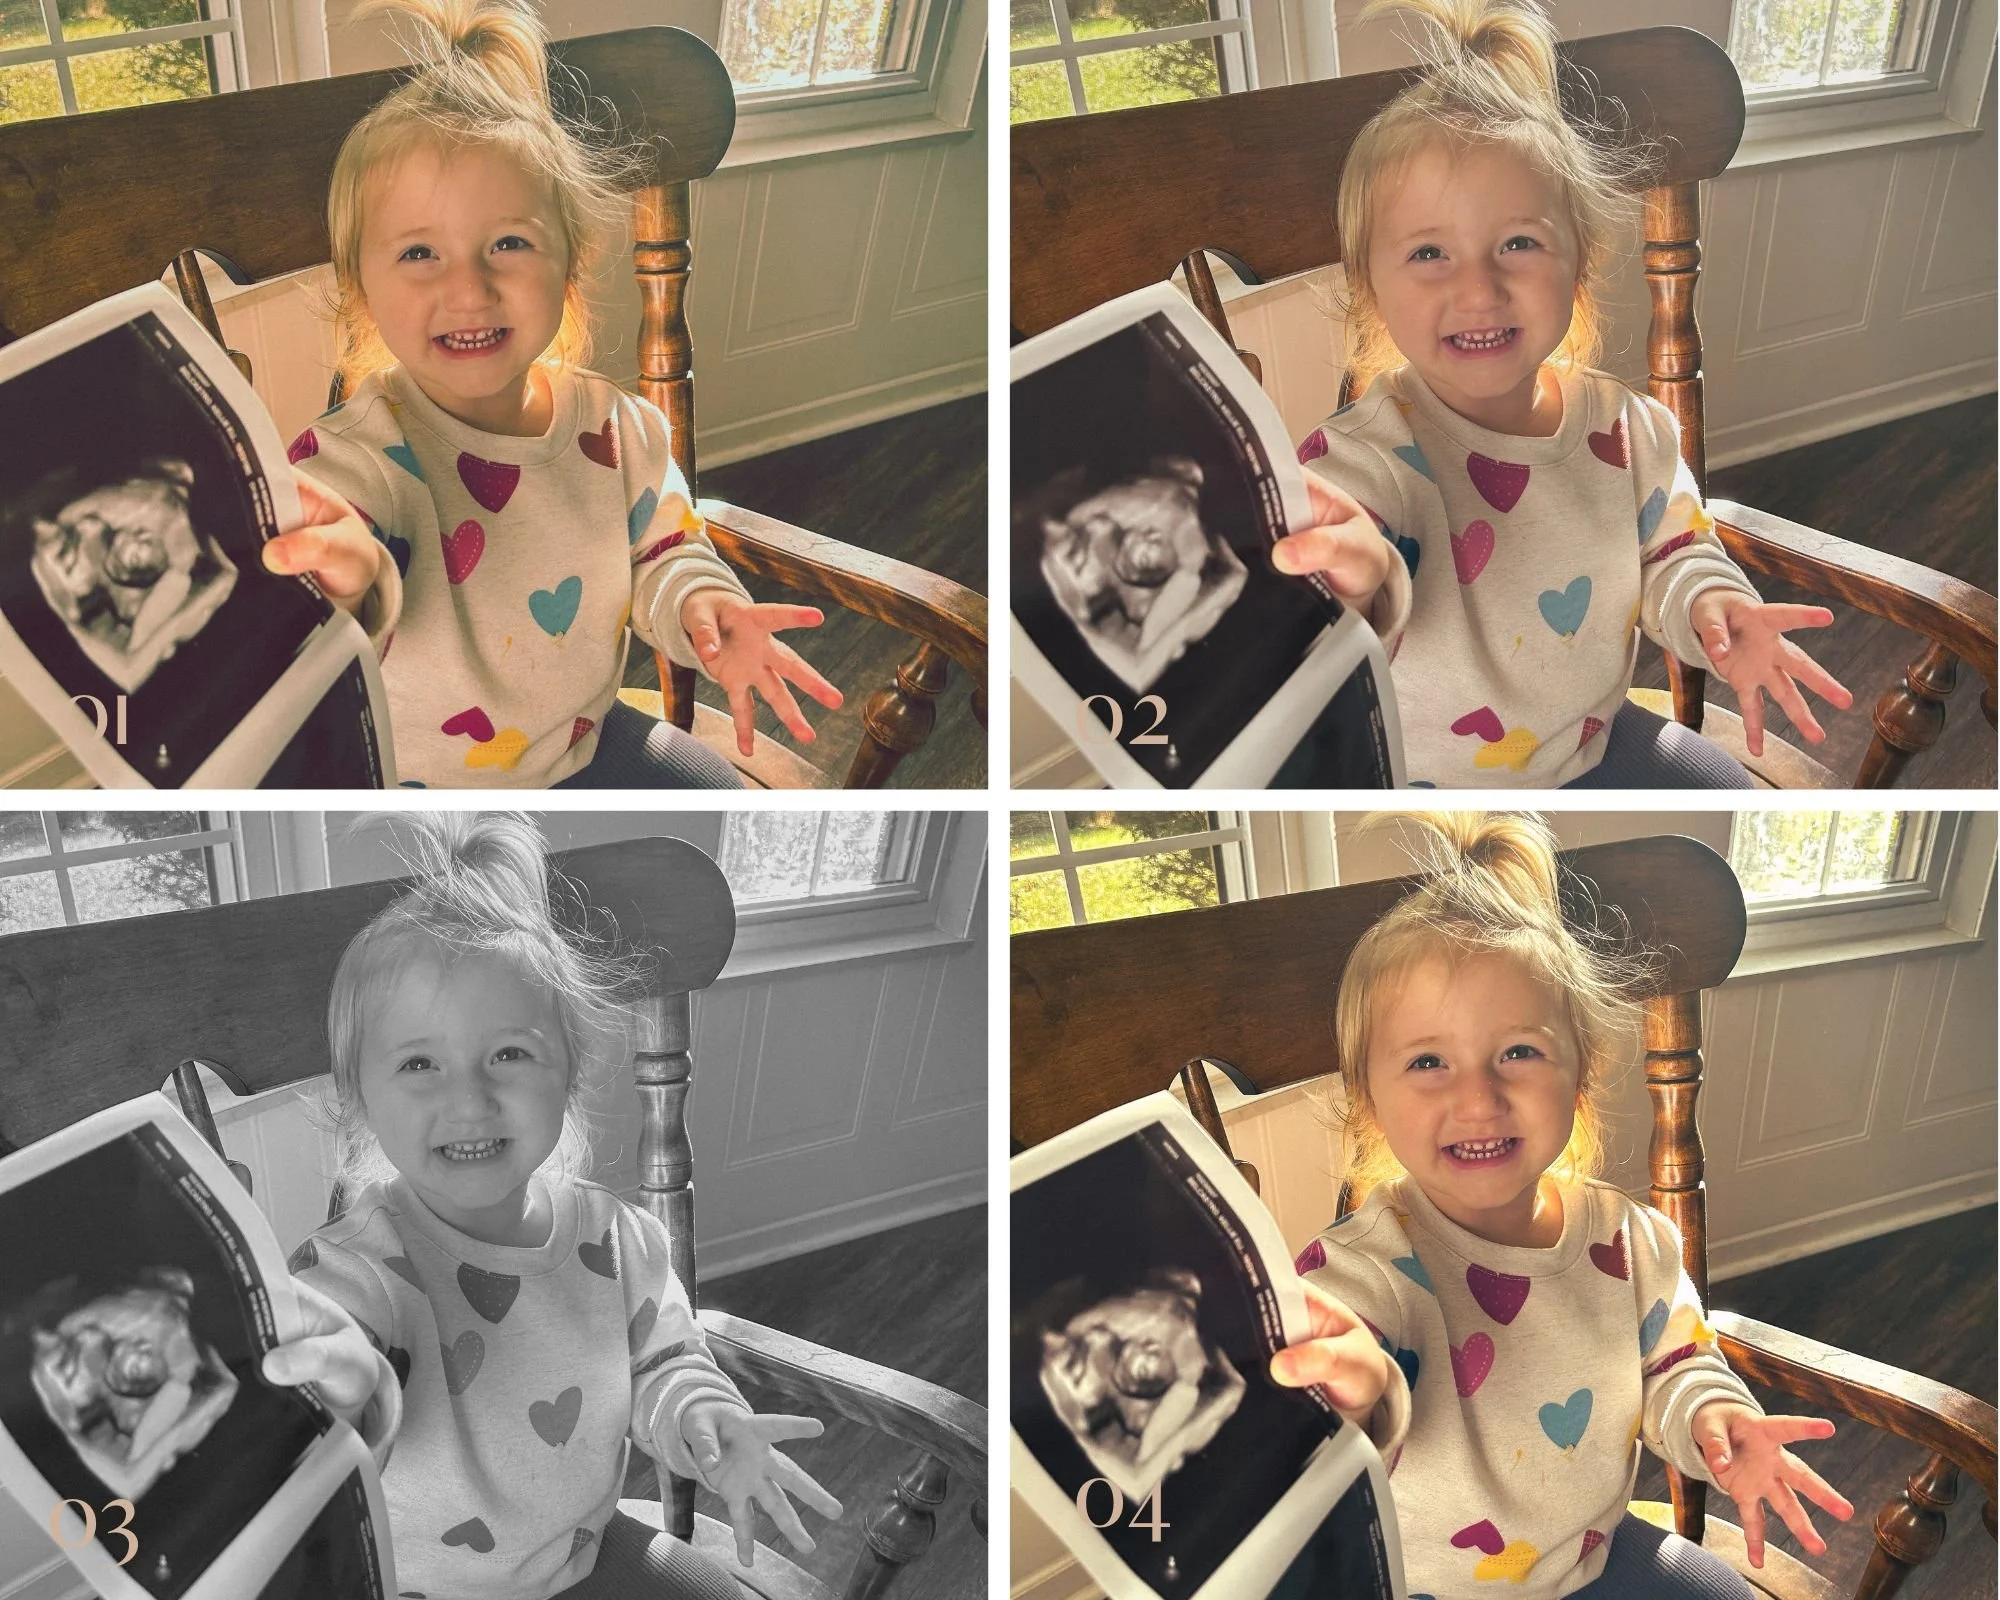
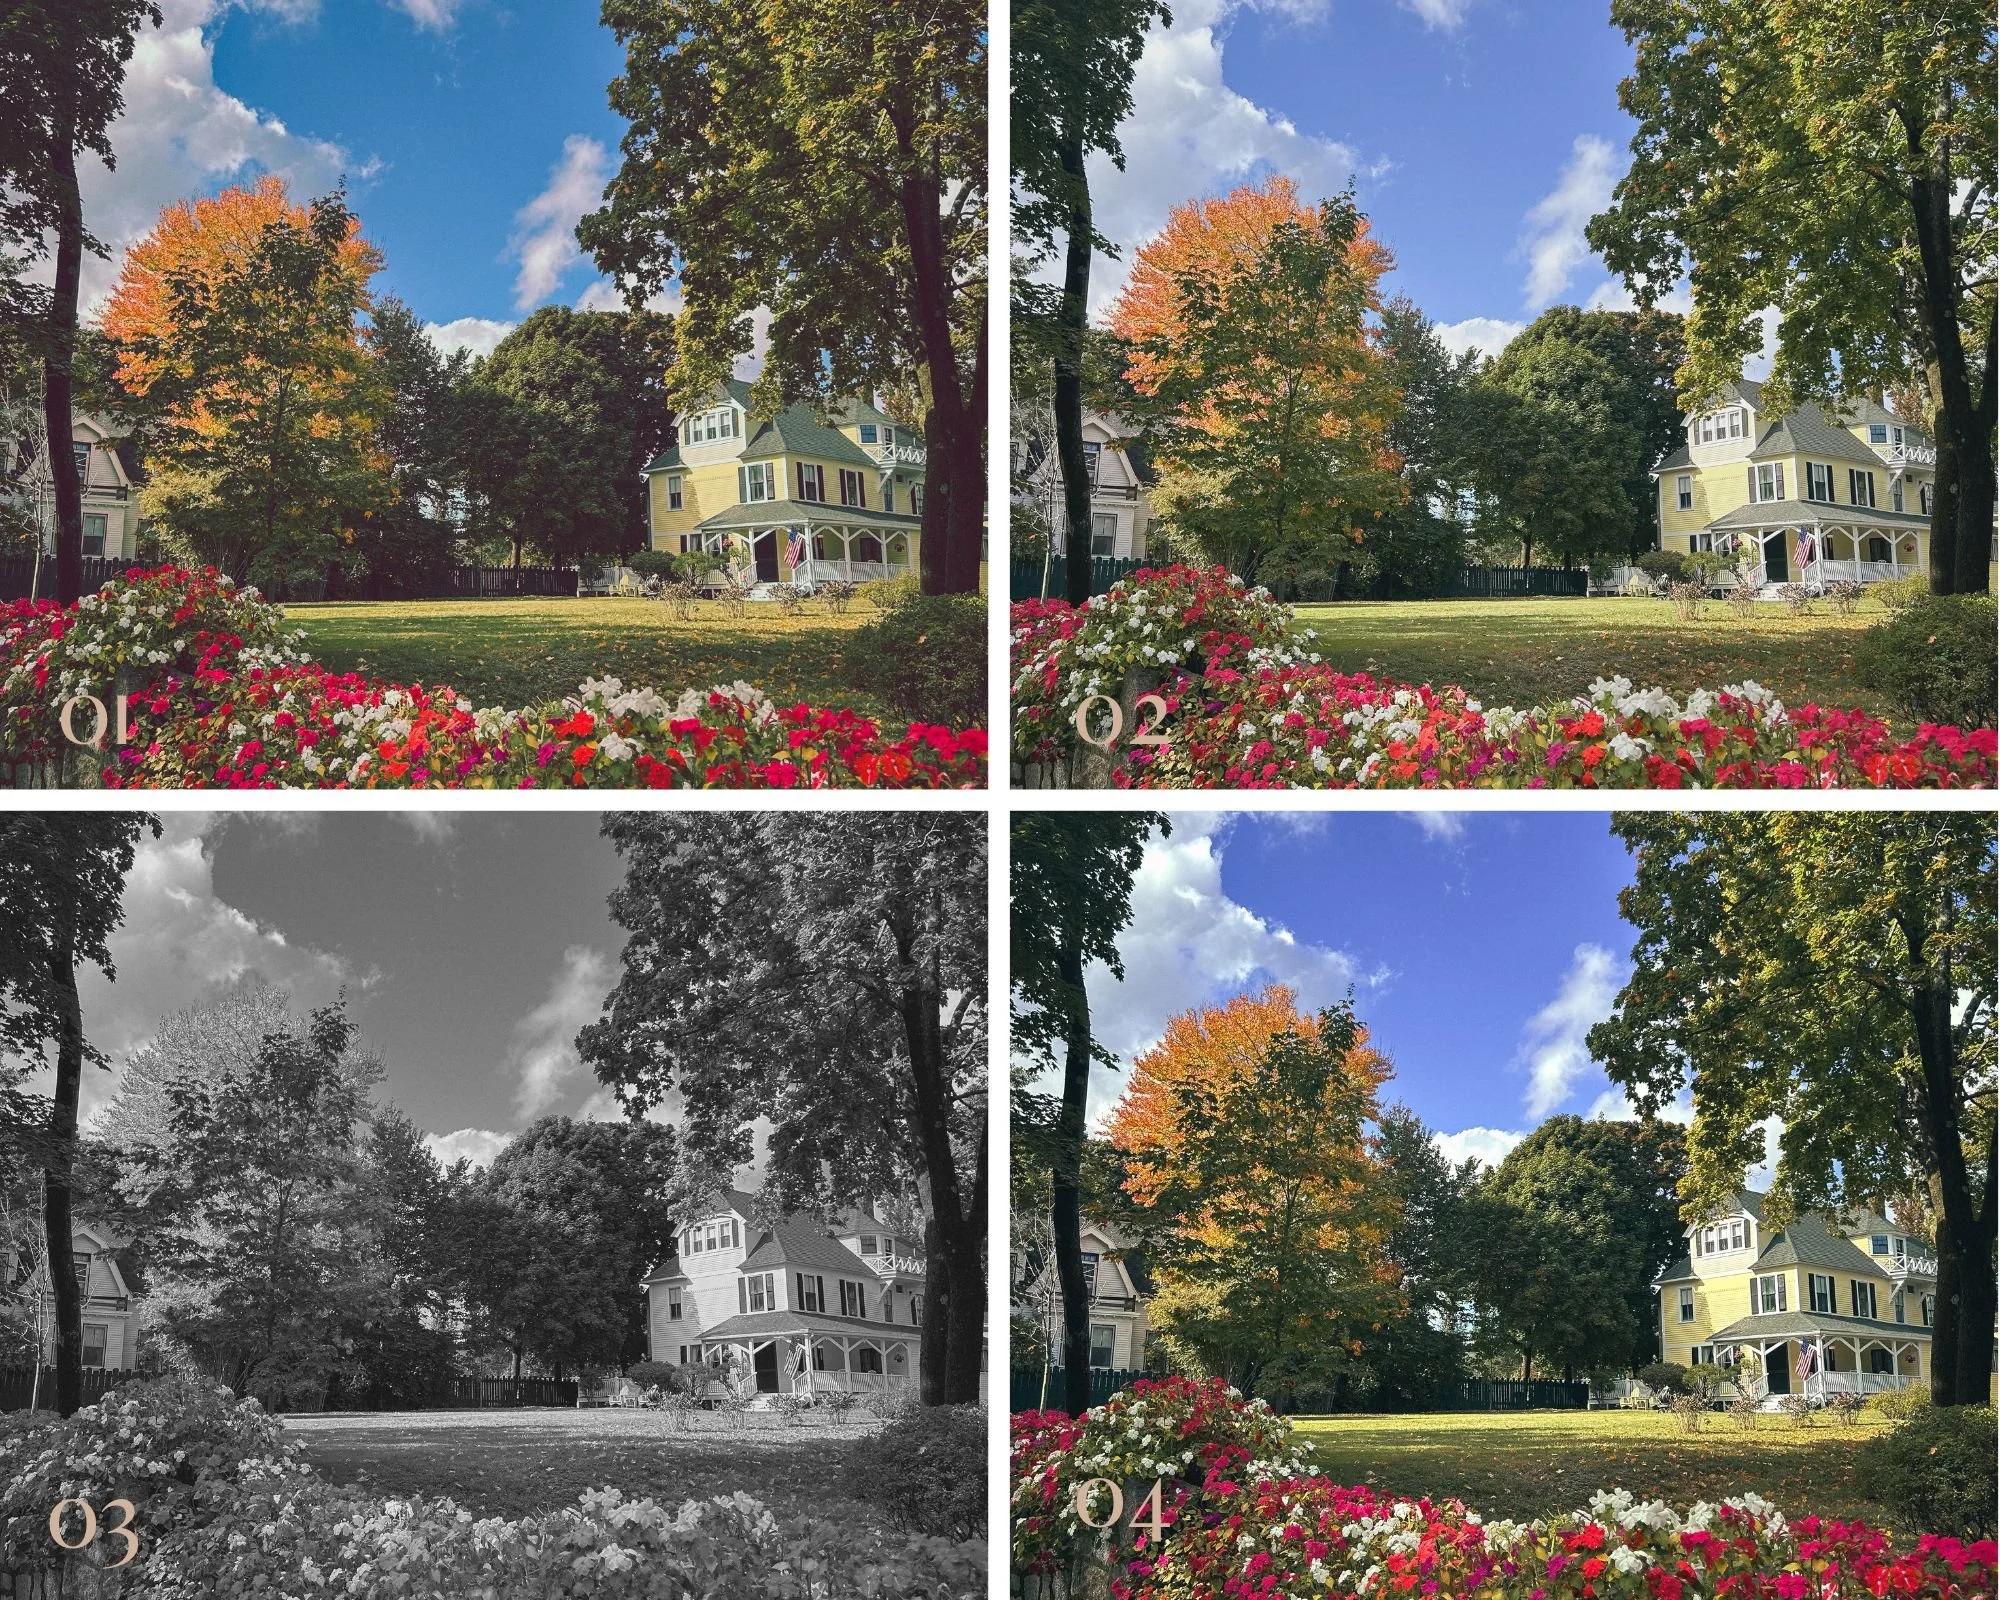
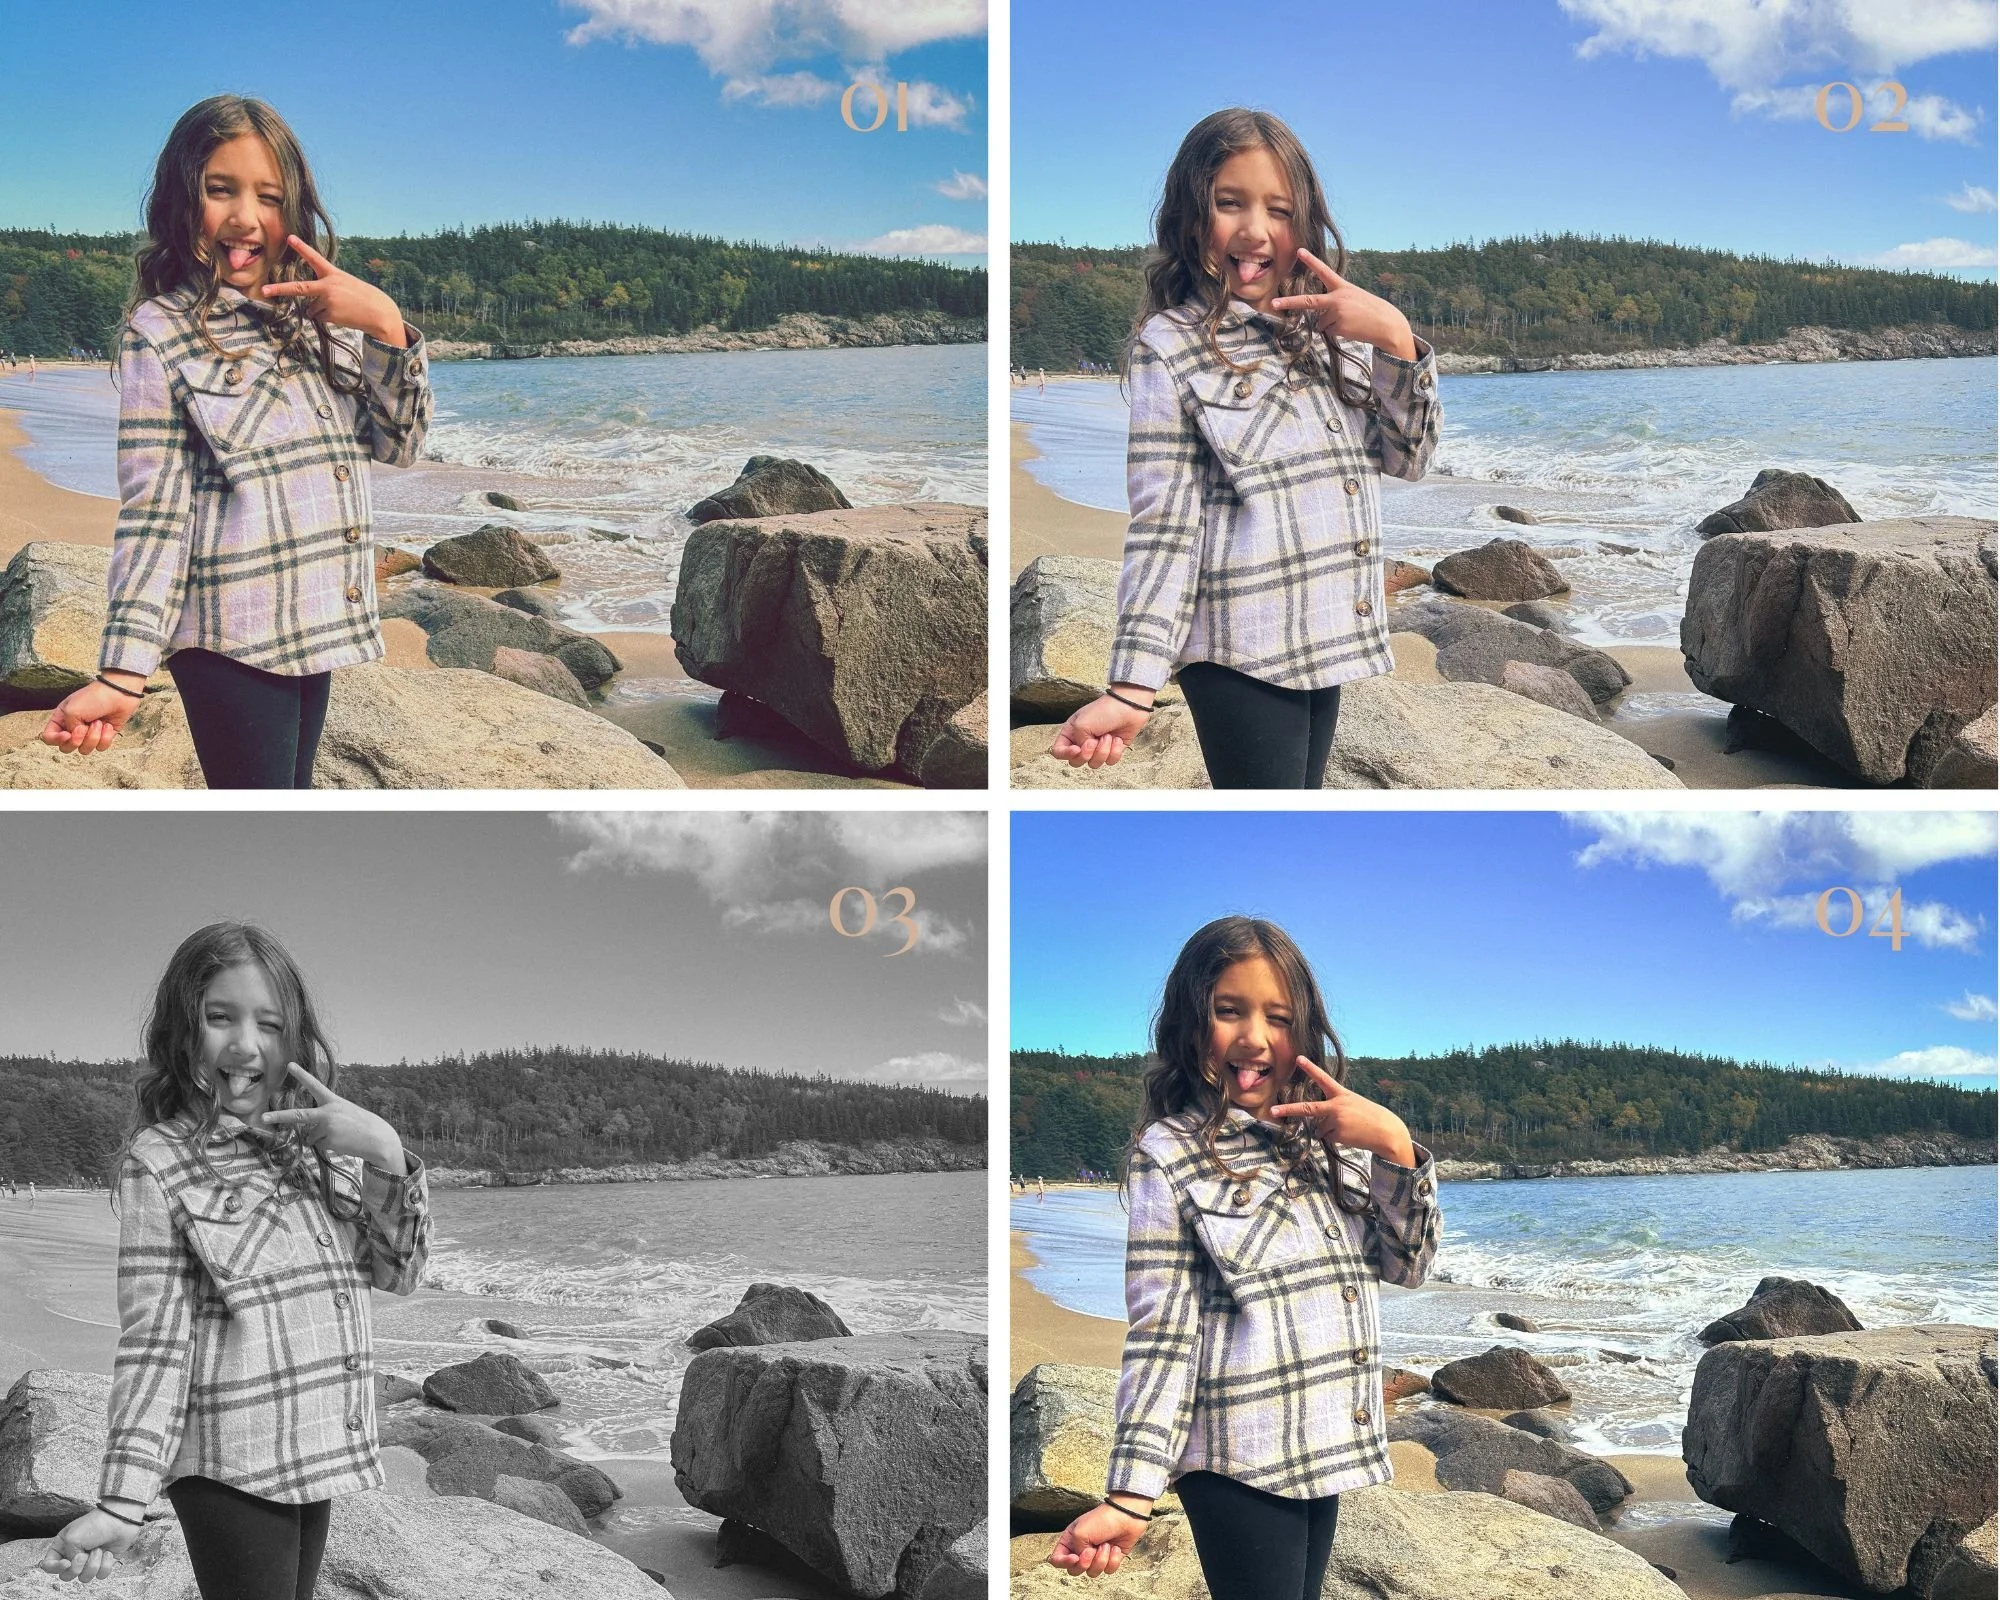
A beautiful, cinematic preset with a heavier filmic edit. This preset leans into green-toned beauty and loves direct sunlight. Daydream Preset 01. preserves rich colors with a cinematic touch.


TKP Daydream 02.
With light tones & shadows, this presets encompasses a cinematic, true-to-color look for each photo. It leans towards magenta tones with a soft, dream-like edit.


TKP Daydream 03.
A timeless, cinematic black & white preset that is beautiful in lowlight or natural light. This preset has light grain, lower contrast for a more nostalgic look, and is a lover of all light with its versatility.


TKP Daydream 04.
A more contrasted, sharper preset with a green-base and true-to-color tones. It provides a punch of color with its saturation. Preset 04 contains golden mid tones with overall warmth.





HOW TO INSTALL TKP PRESETS + Export photos
Locate the email titled “TK Photography: Order __ is Ready” you received, and click the download link “TKP Daydream Mobile Presets.zip”.
Click “Open in Safari” and click “More…” Then click “Save to Files”. This will save to your “Files” App on your phone. From here, you can choose to save this zip file to your “iCloud Drive” or “On My iPhone” REMEMBER WHERE YOU SAVE THIS TO.
Head over to your “Files” app. Make sure you’re on the correct section you saved your zip file to (either iCloud Drive or On My iPhone - you can click “browse” in the top left corner to toggle back and forth) and locate the zip folder titled “TKP+Daydream+Mobile+Presets” and click on this zip file. Once clicked, you should see that zip file disappear and a new folder should appear. Click that folder. You should see 4 photos in that folder. Click the first photo, open the menu at the bottom left corner, and click “save image”. Repeat this step with all photos. All photos will need to be saved to your phone.
Download “Lightroom Video & Photo Editor” from the app store. You will have to give Lightroom access to your photos, so when prompted, be sure to click allow.
Once Lightroom loads all of your photos, locate the DNG photos that you just saved to your phone. These DNG files may appear green until fully loaded, that is normal. Click the first photo. Click the 3 dots at the top right corner and choose “Create preset“. You can name this preset whatever you would like in the “Preset Name” section. I recommend something like “TKP Daydream 1, TKP Daydream 2” so you can keep track of which presets are which. Click the check mark on the top right corner. You’ve saved your first preset! Hit the back arrow at the top left corner and repeat step 5 with the remaining DNG files. Remember to change the Preset name/number as you save the remaining presets so they all aren’t labeled “TKP Daydream 1”!
Once the step above is complete, choose a photo from your phone in Lighroom and click the two overlapping black and white circles in the bottom row (left) labeled.“Presets”. Choose “Yours” from the menu, and choose “User Presets”. There you should find your new presets!
Apply your preset to your photo and adjust however you wish using the “edit” menu. Once you’re all finished with your edit, click the button in the top right corner with a box and arrow pointing upward and choose “Export as…”, choose your file type (JPG), and Dimension size (I use Largest available dimensions to preserve quality), and Image quality (I usually export on 90%, but you can export from a lower quality if this file size is too big). Once this is complete, you’ll receive another pop up menu where you can choose “Save Image”, click that, and your new edit will be saved to your photos! You just completed your first edit!!